The Complete Beginner's Guide to Home Assistant
Home Assistant is the most powerful smart home platform available. Here's how to get started without getting overwhelmed.
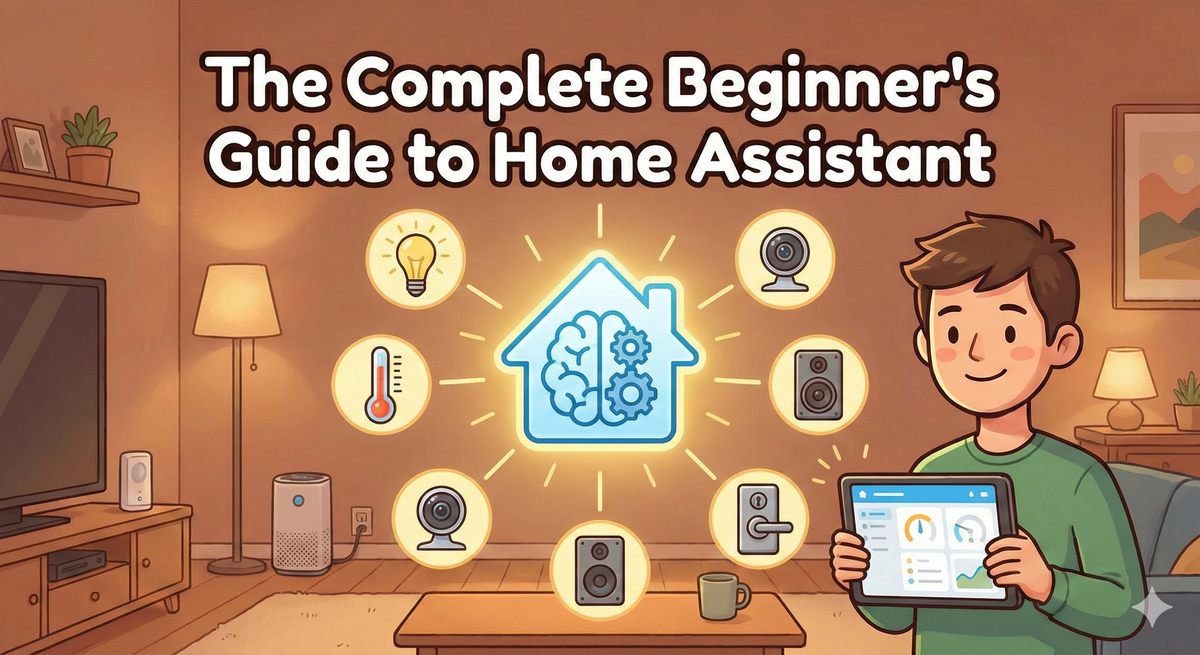
Home Assistant is the most powerful smart home platform available — it's free, open-source, and supports over 2,000 integrations. It can do things that Alexa and Google Home simply can't. But it also has a reputation for being complicated.
Here's the thing: it's gotten much easier. If you can follow a recipe, you can set up Home Assistant. This guide will walk you through everything from "what is this?" to "my first automation," in plain language.
What Is Home Assistant?
Home Assistant is a free, open-source smart home platform that runs on a small computer in your home (usually a Raspberry Pi). It connects to virtually every smart home device — regardless of brand or ecosystem — and lets you create automations that go far beyond what Alexa or Google Home can do.
Why it's different from Alexa/Google Home:
- Local processing: Your automations run on your own device, not in the cloud. They work even if your internet goes down.
- Brand agnostic: It works with everything — Philips Hue, Ring, Ecobee, SmartThings, Xiaomi, IKEA, and thousands more.
- Unlimited automations: No artificial limits. Create as many complex automations as you want.
- Privacy focused: Your data stays in your home. Nothing is sent to Amazon, Google, or any third party.
- Free forever: No subscriptions, no fees, no premium tiers.
What You'll Need
The recommended setup for beginners:
- Home Assistant Green ($99) — A plug-and-play device made specifically for Home Assistant. Just plug in power and ethernet. This is the easiest way to get started.
- Alternative: Raspberry Pi 4 ($55-$75) + SD card ($10) + power supply ($10) + case ($10). More DIY but very capable.
- Ethernet cable to connect to your router
- Optional: Zigbee dongle ($25-$35) if you plan to use Zigbee devices (like Aqara sensors or IKEA smart home products)
Total cost: $99 for the easiest path, $85-$120 for the Raspberry Pi route.
Setting It Up
Step 1: Install Home Assistant
If you bought the Home Assistant Green, this step is done — it comes pre-installed. Just plug it into power and your router.
For Raspberry Pi: Download the Home Assistant image from home-assistant.io, flash it to your SD card using the free Balena Etcher tool, insert the card, and power on. The whole process takes about 15 minutes.
Step 2: Access the Dashboard
After a few minutes, open a browser on any device connected to your home network and go to http://homeassistant.local:8123. You'll see the onboarding screen where you'll create your account and set your home location (for weather and sunrise/sunset automations).
Step 3: Add Your Devices
Home Assistant automatically discovers many devices on your network. You'll likely see a notification saying "New devices discovered" for things like your Philips Hue bridge, Chromecast, or smart TV. Click to add them.
For devices that aren't auto-discovered, go to Settings → Devices & Services → Add Integration, and search for your device brand.
Step 4: Explore the Dashboard
Home Assistant creates a default dashboard showing all your connected devices. You can see their status, control them, and customize the layout. This is your command center.
Your First Automation
Let's create a simple automation: turn on the living room lights at sunset.
- Go to Settings → Automations & Scenes → Create Automation
- Trigger: Choose "Sun" → "Sunset"
- Action: Choose "Call service" → "Light: Turn on" → Select your living room light
- Click Save and give it a name like "Living Room Lights at Sunset"
That's it. Tonight, your lights will turn on automatically at sunset. Home Assistant knows your exact sunset time based on your location and adjusts daily.
Pro Tip:
Five More Beginner Automations
Once you've got the basics down, try these:
- Motion-activated hallway lights: Trigger: motion sensor detects movement → Action: turn on hallway light → Condition: only between 10 PM and 7 AM.
- Good morning routine: Trigger: time is 6:30 AM on weekdays → Actions: turn on kitchen lights, set thermostat to 70°F.
- Front door notification: Trigger: door sensor opens → Action: send notification to your phone with "Front door opened."
- Everything off when you leave: Trigger: everyone leaves the house (phone-based presence detection) → Action: turn off all lights, set thermostat to away mode.
- Night mode: Trigger: time is 10 PM → Actions: dim all lights to 20%, lock front door, set thermostat to sleep mode.
Tips for Success
- Start simple. Don't try to automate everything on day one. Get one automation working perfectly before adding more.
- Use the companion app. Install the Home Assistant app on your phone for remote access and mobile notifications.
- Join the community. The Home Assistant forum and subreddit (r/homeassistant) are incredibly helpful for troubleshooting and inspiration.
- Back up regularly. Settings → System → Backups. Do this before making major changes.
- Don't be afraid to experiment. The undo button and backup system mean you can try things without risk.
Should You Use Home Assistant?
Yes, if: You want the most powerful smart home platform, value privacy, enjoy tinkering (even a little), or have devices from multiple ecosystems that you want to work together.
Maybe not yet, if: You want a zero-effort setup experience, only have 1-2 smart devices, or don't want to invest any time in learning a new platform.
The good news: You can run Home Assistant alongside Alexa or Google Home. Many people use Alexa for voice control and Home Assistant for the complex automations that Alexa can't handle.
For more smart home guides and product recommendations, visit our Smart Home guide and Resources page.